T-shirt Quilt Blanket
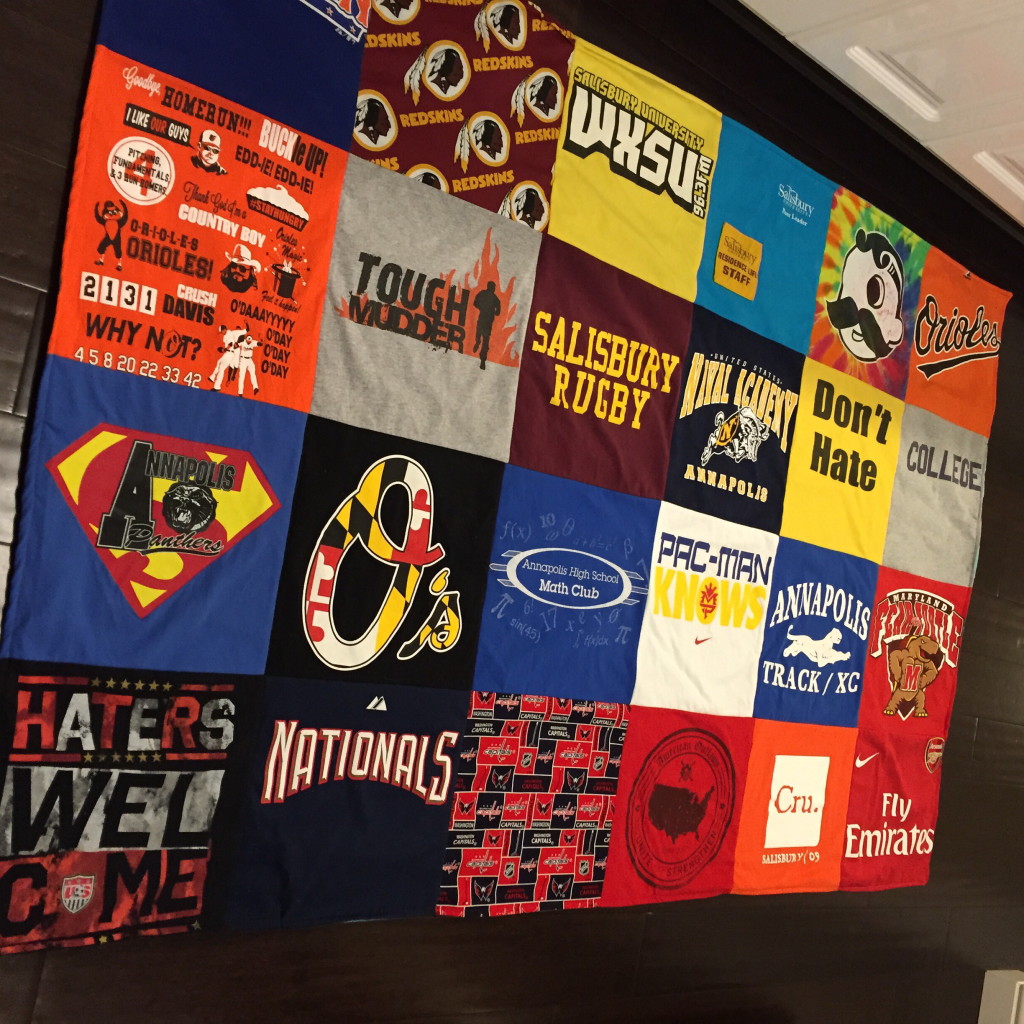
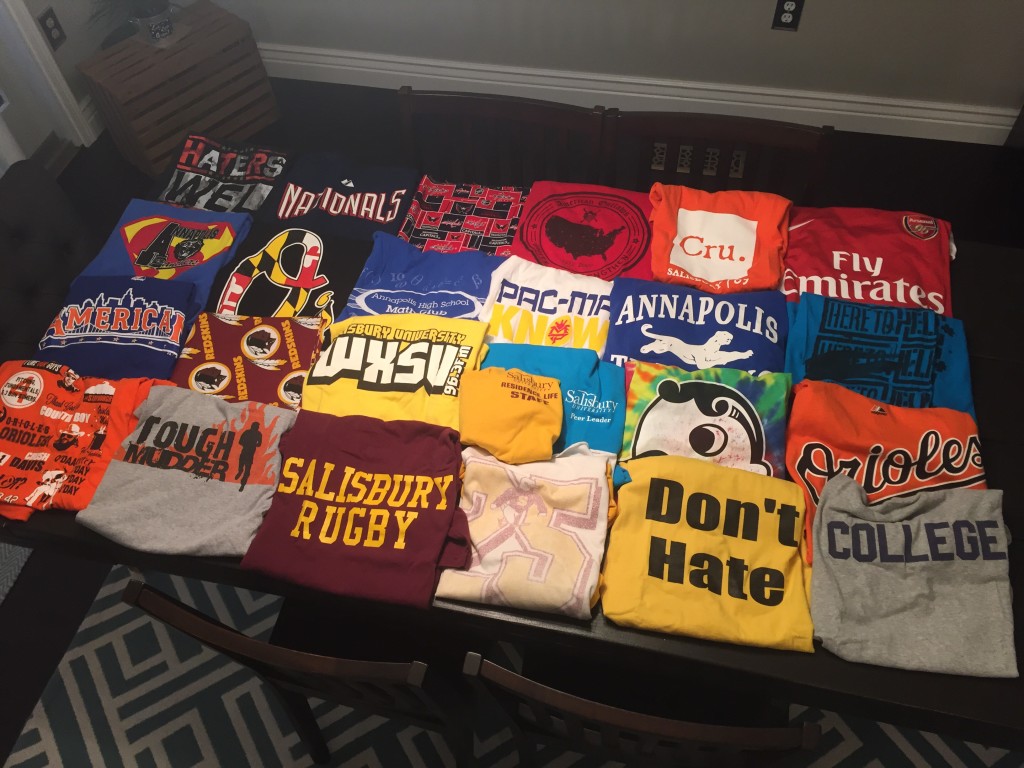
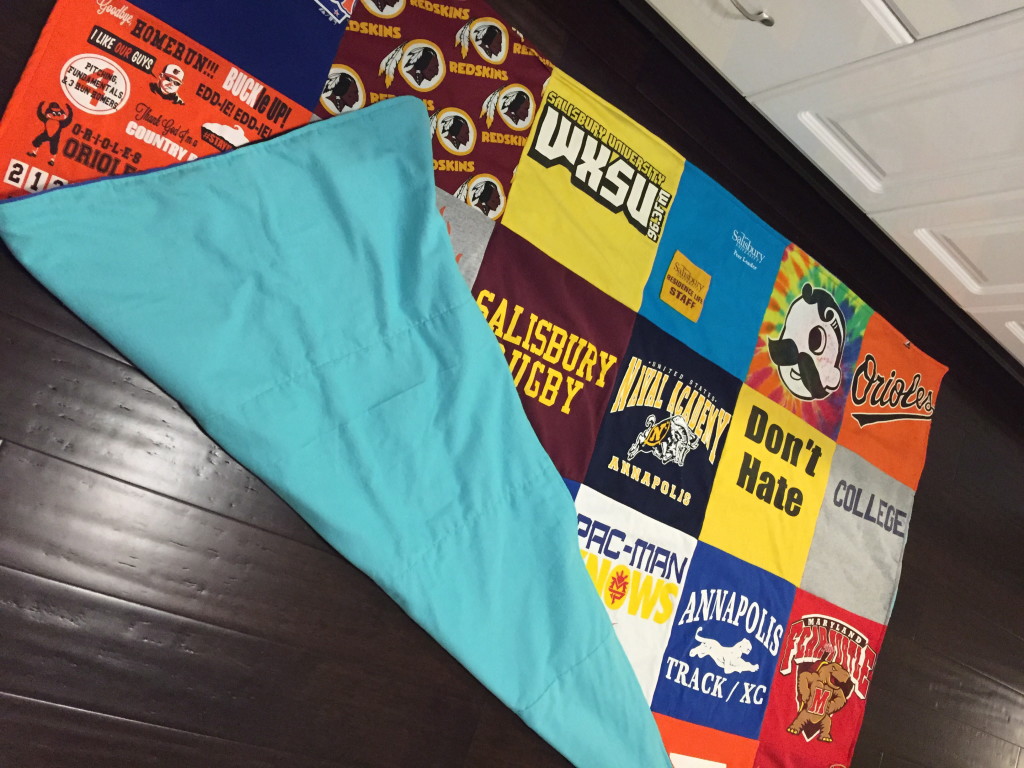
For our 2 year wedding anniversary, the “cloth” year, I wanted to do something special for my husband; so I made him a T-shirt quilt from his old (and large) pile of T-shirts!
I researched a few different DIY blankets and then just kind of made it up as I went along! I should have faced the squares the other way because now the squares are kind of ‘sideways’ when we use the blanket, but I still think it turned out great!
Supplies:
24 T-shirts (or 30; if you want 5×6 rows)
Sewing machine and some basic sewing skills
Flannel or fleece for the back (I bought 3.5 yards – you will need more if doing 30 shirts)
Thread to match/’go with’ the T-shirts
Thread to match flannel/fleece fabric
Fabric cutter and cutting board
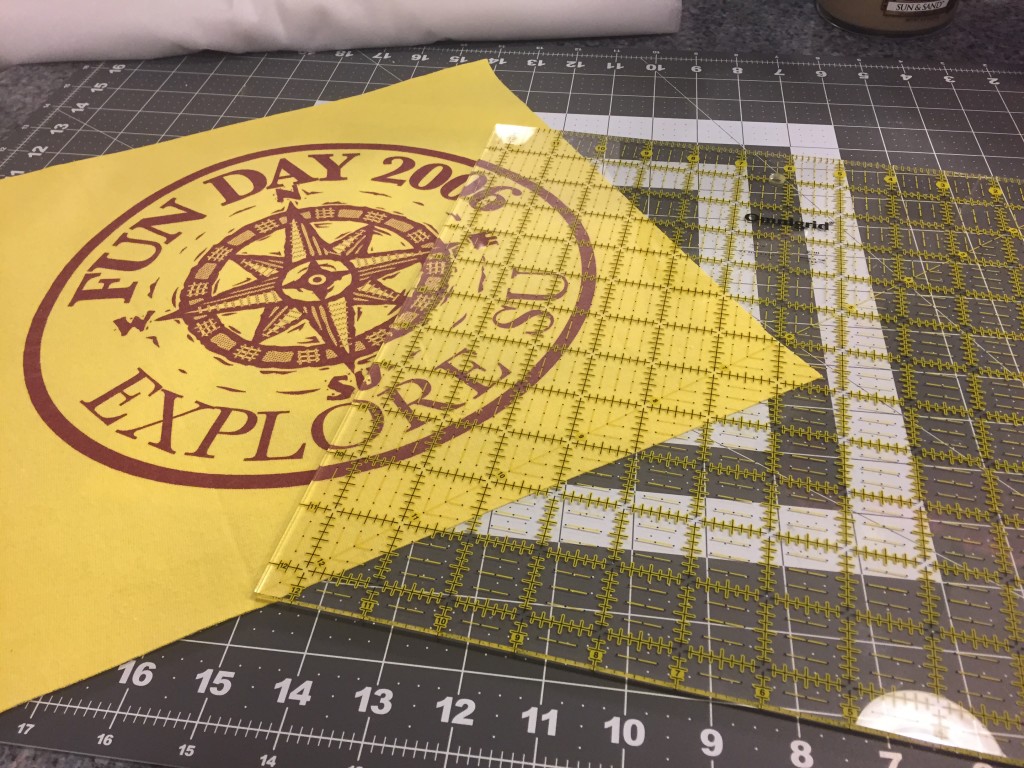
Quilt square plexiglass (for accurate square cuts of fabric) – I used a 12.5×12.5 board
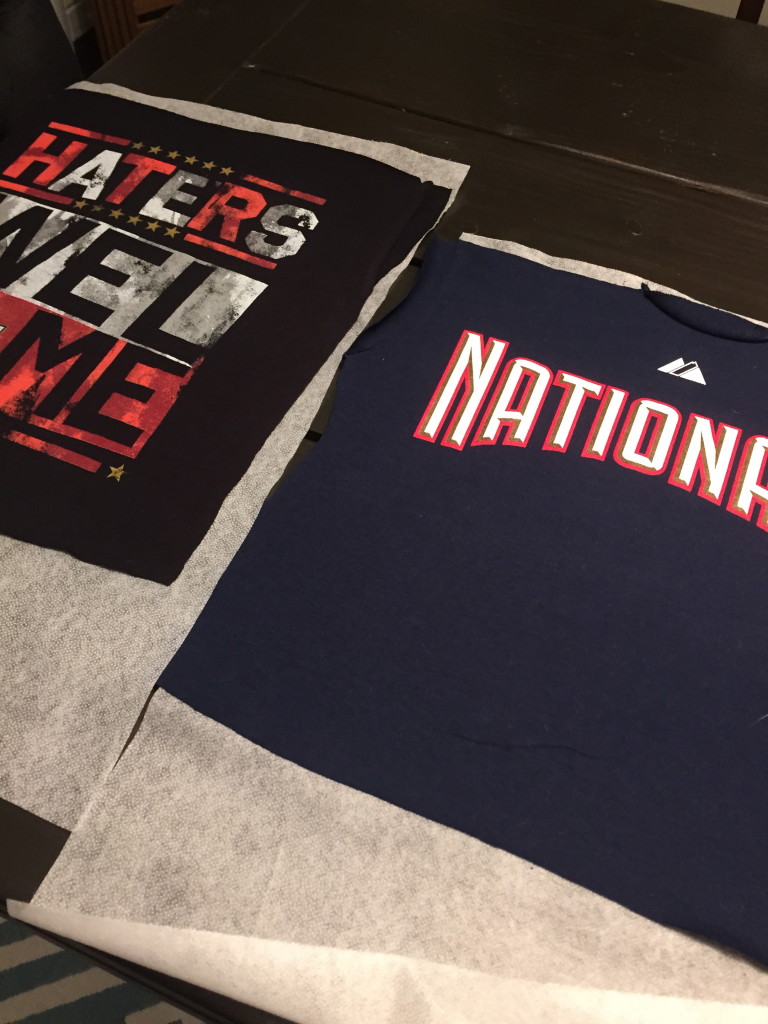
Non-woven thin fusible interfacing (I bought 3.5 yards – you will need more if doing 30 shirts)
*Tip before you start – Launder the shirts, iron if necessary (be careful not to ruin design on shirt from the iron)
Directions:
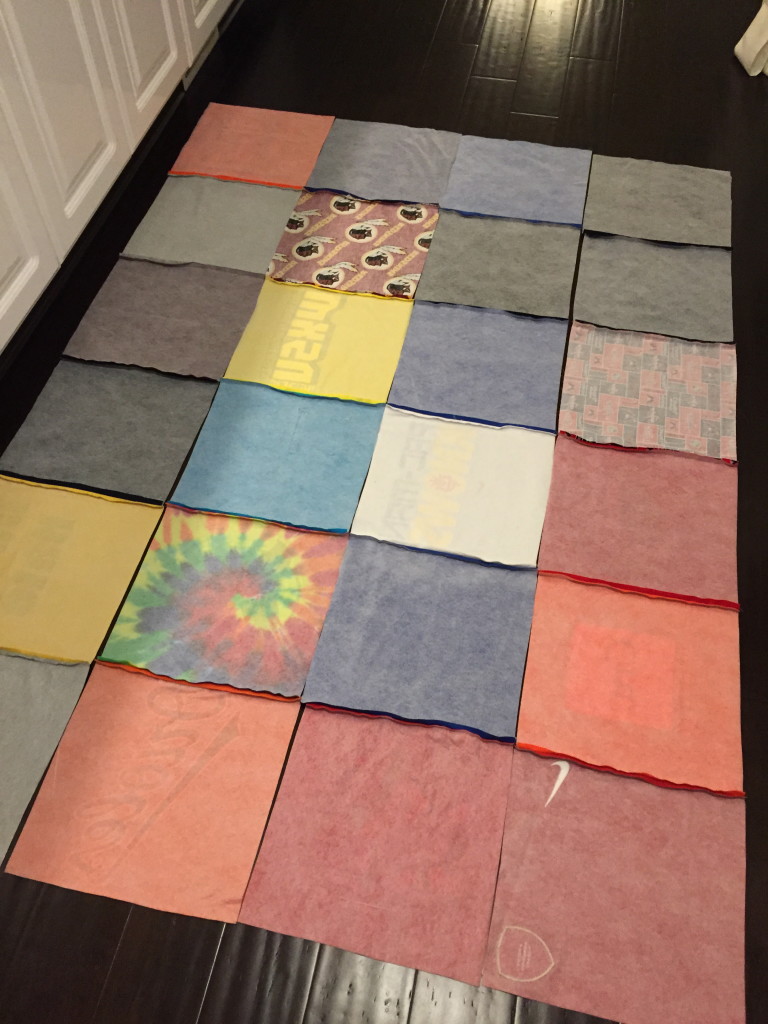
Step 1: Find your favorite 24 or 30 tshirts and lay out the t-shirts to make sure they will go nicely together
Step 2: Cut each t-shirt using a quilt square and your fabric cutter/board
I used 12.5×12.5 but I left about 1inch on every side (you will cut off the excess later)
*Make sure to center your design*
Step 3: Iron on the fusible interfacing for each shirt
Step 4: Using your cutting square, board and cutter; cut your actual 12.5 squares
*It’s very important to make sure all of the squares are the same size so they line up when you sew them!*
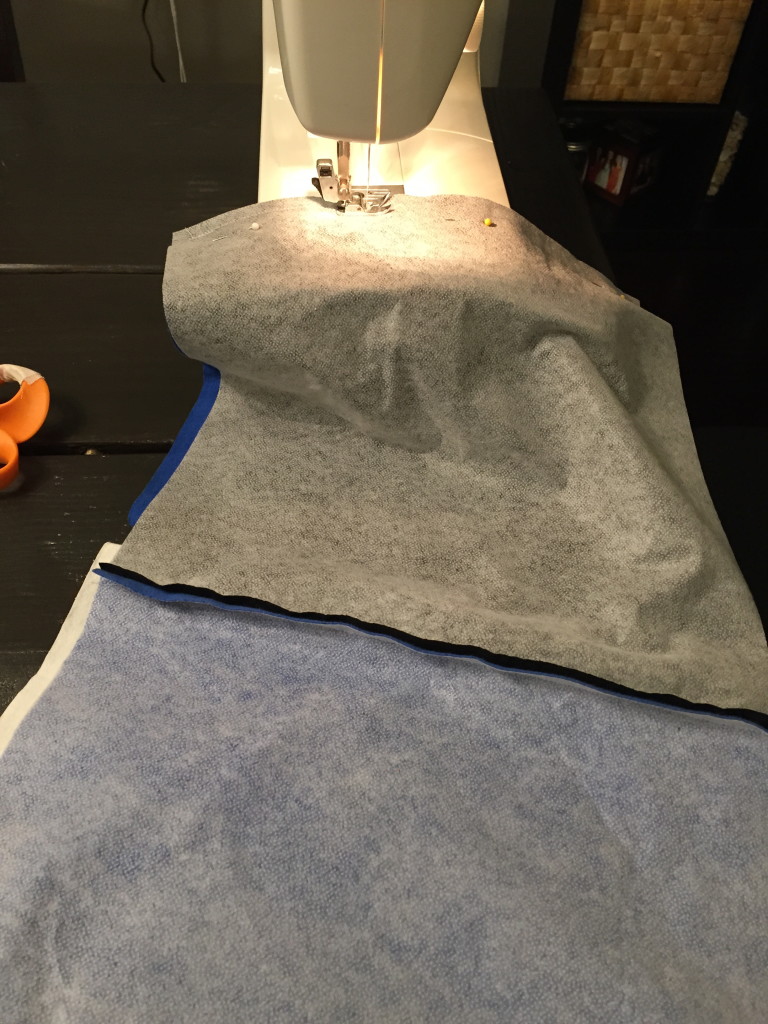
Step 5: Align/pin each row of t-shirts and sew them together
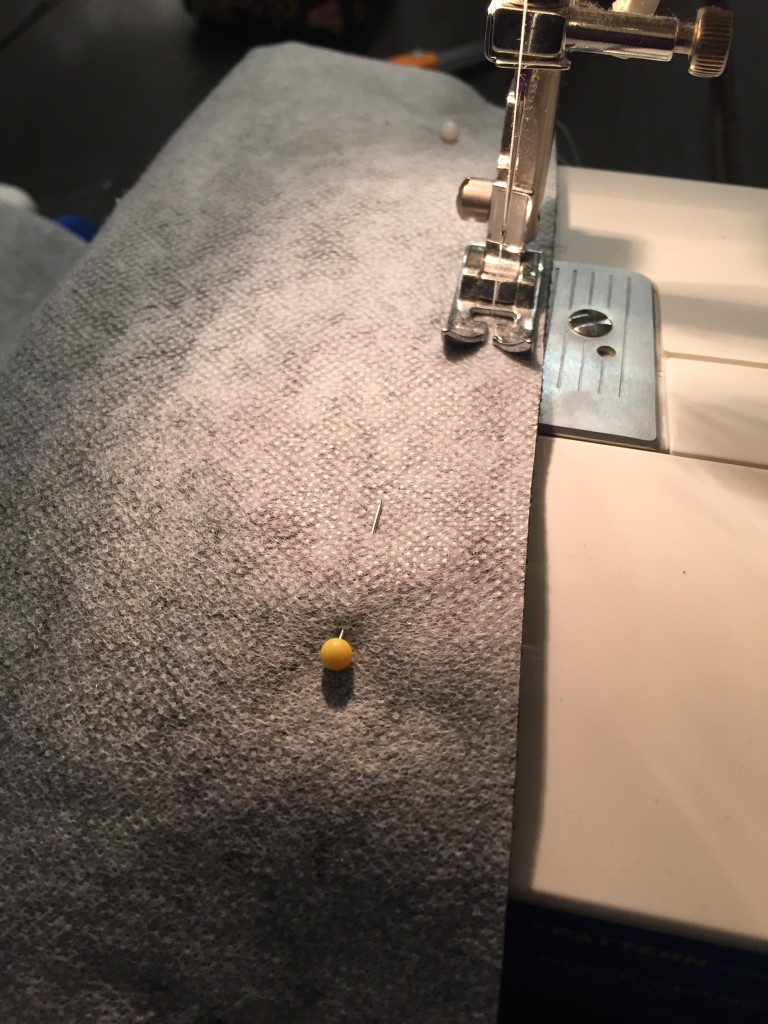
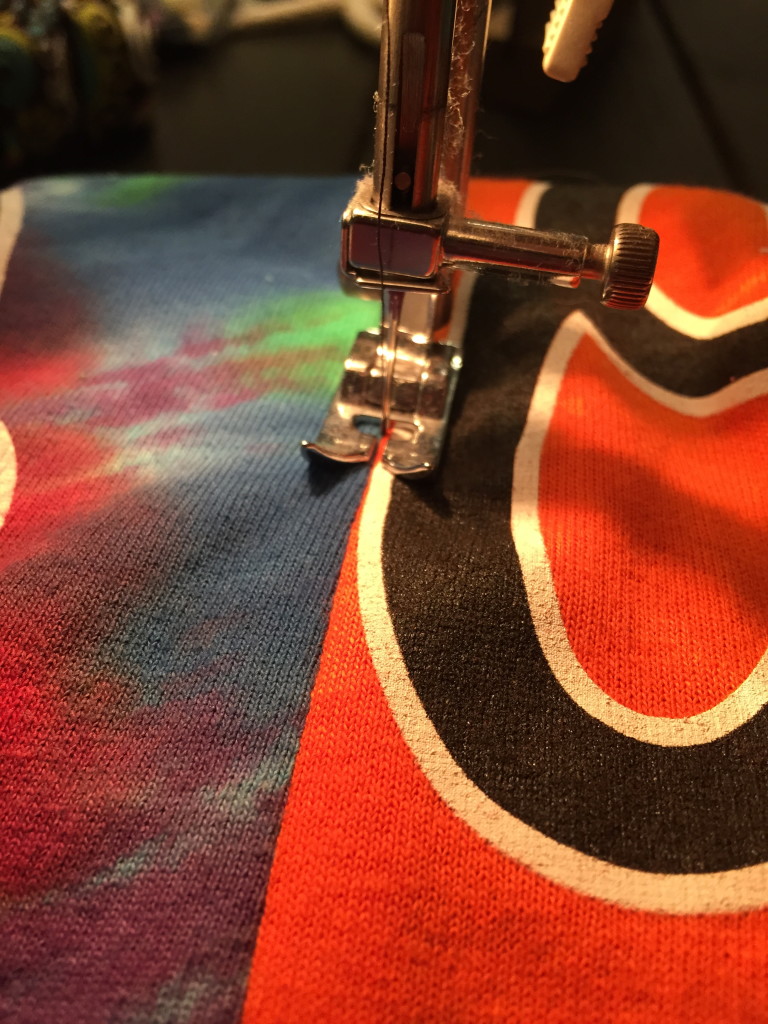
*Be sure to use your sewing machine guard to sew all of the squares together in the same exact way so that they all align!*
*Be sure to sew in the same place for each square connection using the machine guard lines–see below*
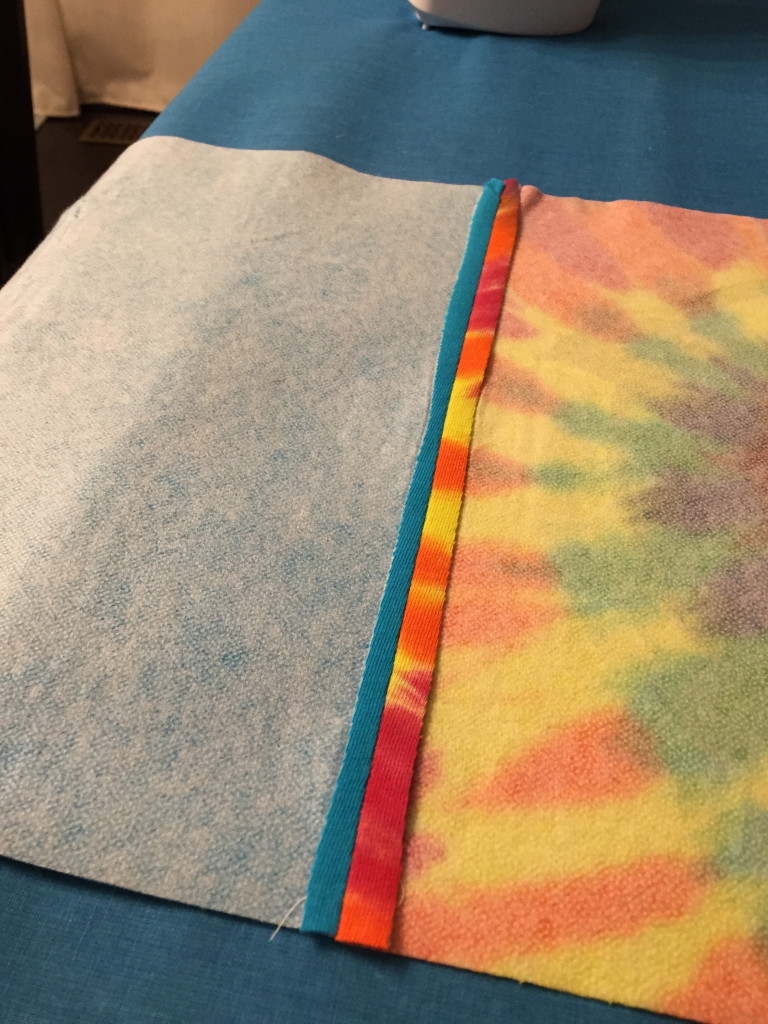
Step 6: Iron down the seams
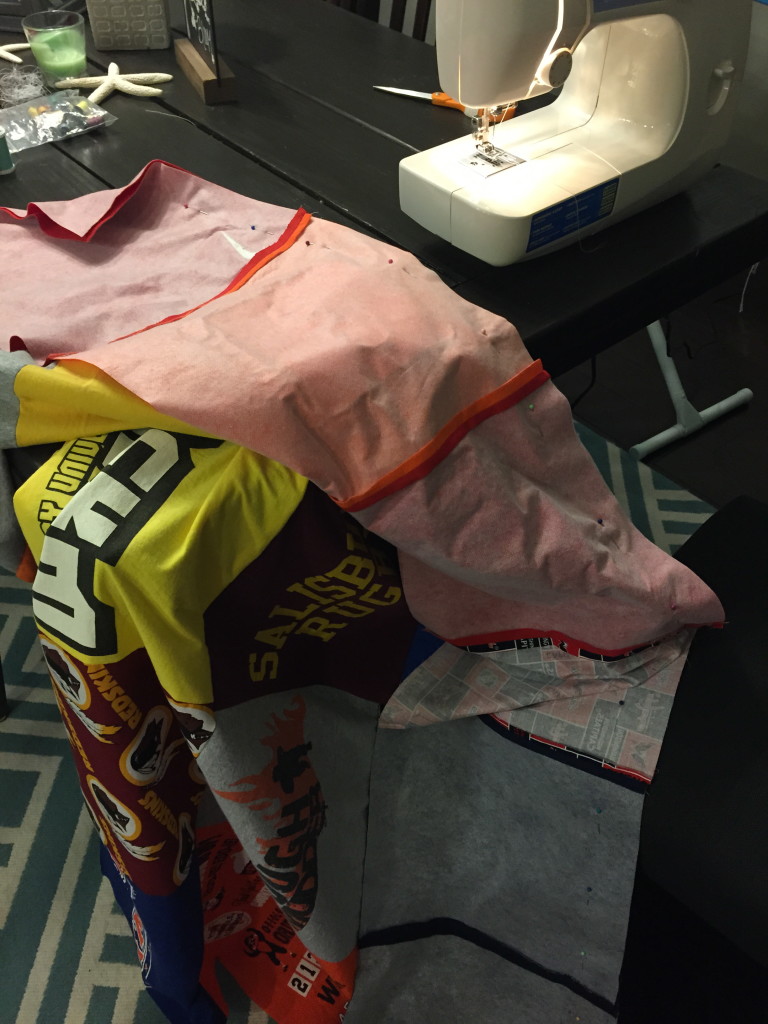
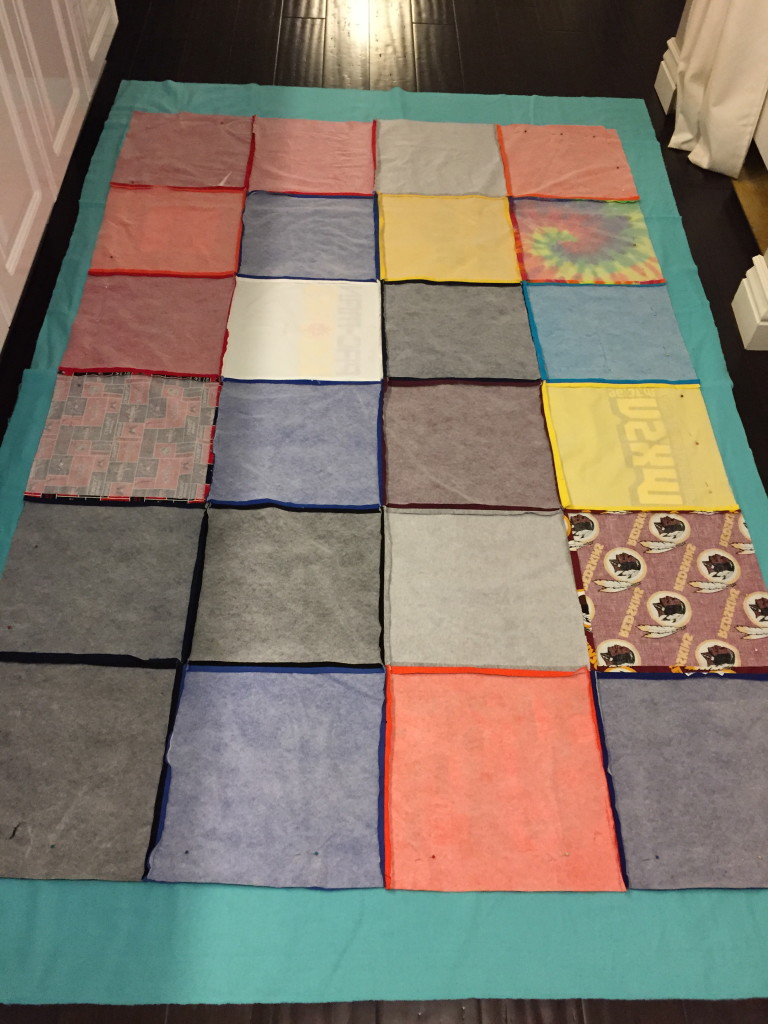
Step 7: Lay your rows face down and pin the rows to one another (I recommend adding/sewing one row at a time; otherwise, you will have a lot of fabric to handle and a lot of pins!)
Step 8: Iron down the long seams after sewing all of the rows together
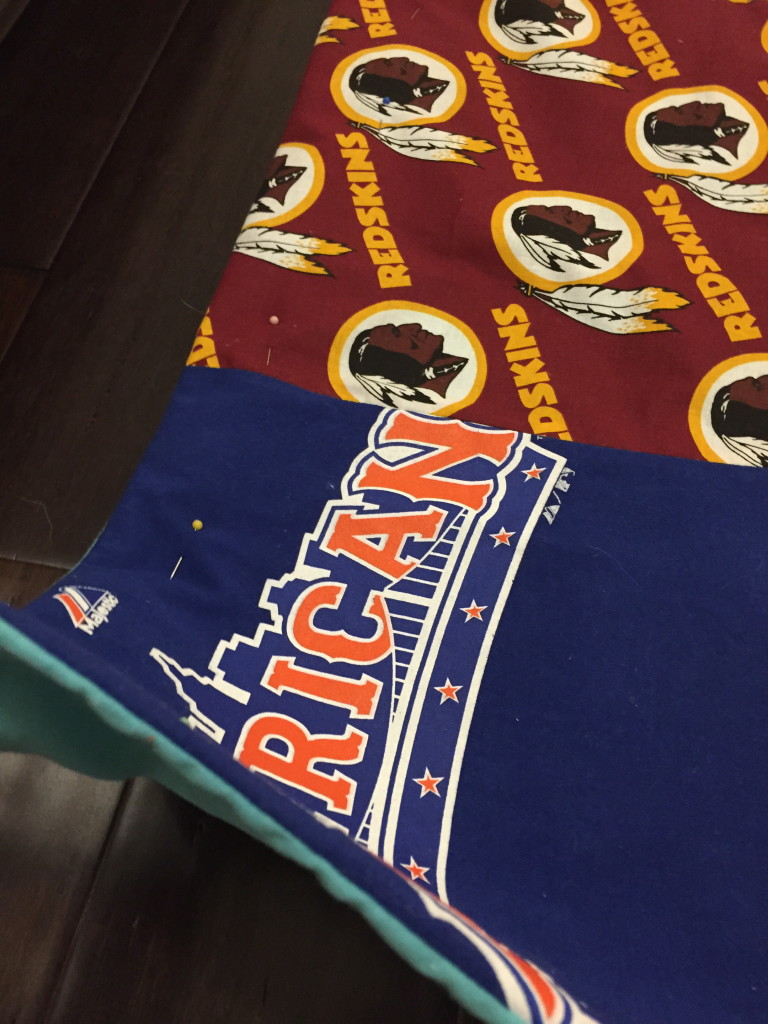
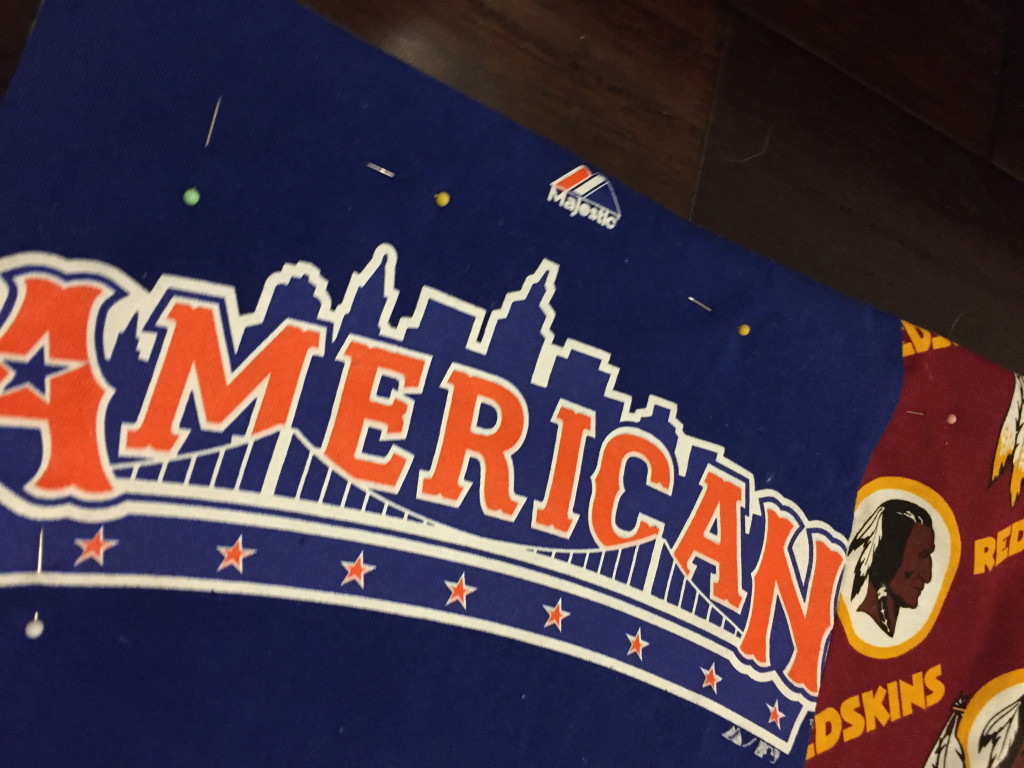
Step 9: Pin the fleece onto the T-shirts (the T-shirts and fleece will be facing inward, see tip and picture below)
**Remember to do this inside out; and leave an opening so that you will be able to flip it right-side-out > you will sew up that seam at the end
These two end squares were left open to be able to flip it right-side-out
[—————————-]
Step 10: Sew fleece onto shirts, (leave an opening about 2 squares wide that you don’t sew!) and flip right-side-out
Step 11: Flip the seam that was not sewn under and pin it
Step 12: Pin entire blanket around the edge and sew a border (starting at the open seam that you just flipped under) around the blanket
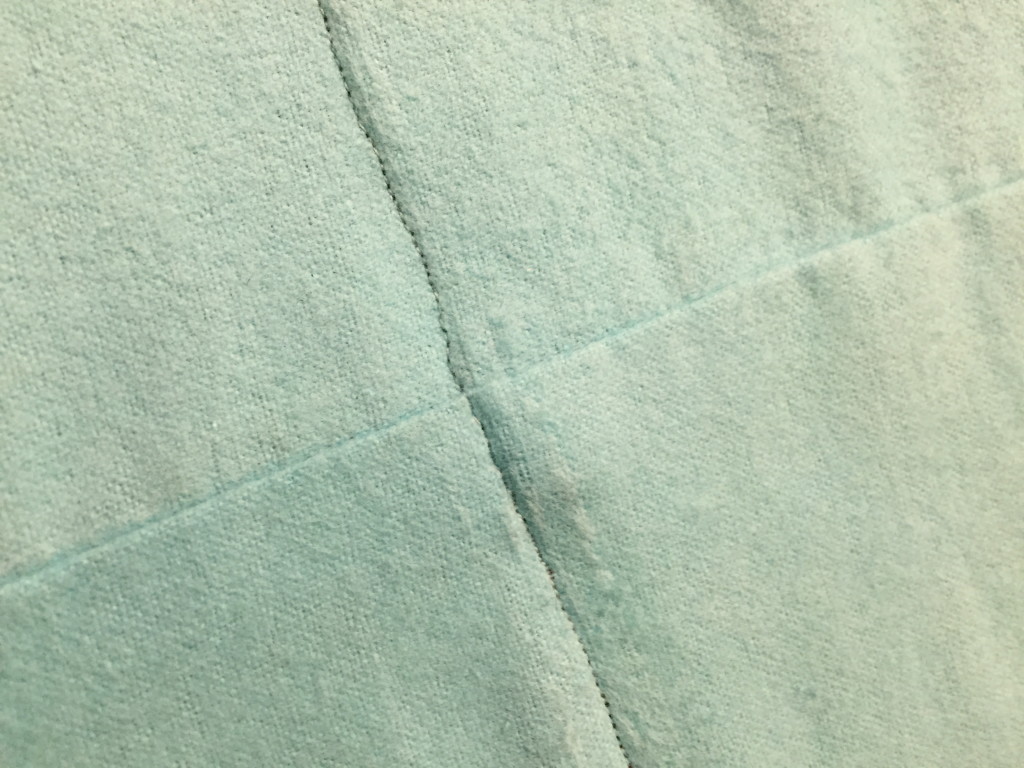
Step 13: Sew along all the seams to better secure the tshirts to the fleece backing
*Remember to keep the thread that ‘matches’ or ‘goes with’ your tshirts as your top thread and keep the thread that matches the fleece as your bottom thread (I used black to go with just about every tshirt, and blue to match the fleece)*
And after all of that, you have your new favorite blanket!
